Discover what happens during a professional AC installation in Bullhead City. Learn how upgrading to a modern system improves comfort and slashes energy bills.
Still relying on an outdated, struggling air conditioner? Booking a professional AC installation Bullhead City homeowners trust is the single best step you can take toward reclaiming your indoor climate. Upgrading to a modern, high-efficiency system instantly improves your comfort, enhances your home’s air quality, and dramatically slashes energy bills. But the truth is, a premium air conditioning unit is only as good as the team putting it in.
When you partner with the experienced technicians at horizon, you are investing in a meticulously calculated upgrade designed specifically to handle the brutal, unrelenting Arizona desert heat. In this guide, we break down exactly what happens during a professional installation so you know what to expect from day one.
The Urgency of a Proper AC Installation Bullhead City
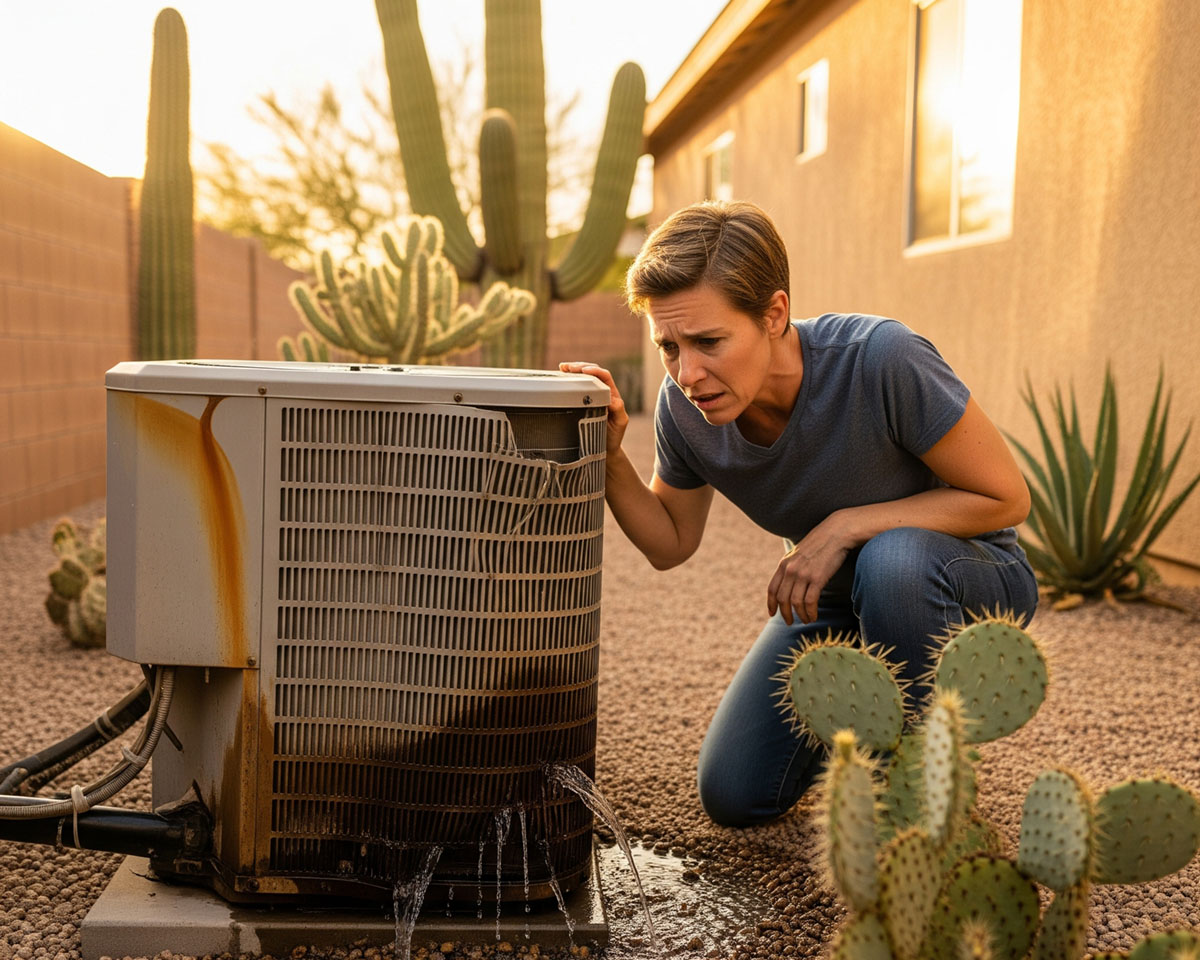
When local summer temperatures regularly soar past 110 degrees, an aging air conditioner becomes a serious liability. Waiting too long to replace a dying unit can quickly turn a minor inconvenience into a full-blown emergency. If your current HVAC system constantly demands ac repair services mohave valley, it is time to stop patching a sinking ship and consider a full replacement.
According to the U.S. Department of Energy, improperly installed cooling equipment can reduce system efficiency by up to 30%, costing you hundreds of dollars in wasted electricity every year. By choosing a professional AC installation Bullhead City service, you guarantee that your new system is optimized for peak performance from the moment it is turned on.
Step 1: Precision Load Calculation and System Sizing
A flawless installation starts long before the tools ever come out of the truck. In our extensive experience serving the tri-state area, we have seen countless homes suffering from improperly sized equipment.
- Oversized Units: Cool the house too quickly, leading to short-cycling and a failure to remove humid air, leaving your home feeling clammy.
- Undersized Units: Run endlessly, struggling to reach the set temperature while skyrocketing your utility bills.
To prevent this, our technicians perform a rigorous calculation based on the Air Conditioning Contractors of America (ACCA) Manual J protocols. We measure your square footage, window placement, insulation quality, and local climate factors to recommend the exact cooling capacity your specific home requires.
Step 2: Safe Extraction of the Old Equipment
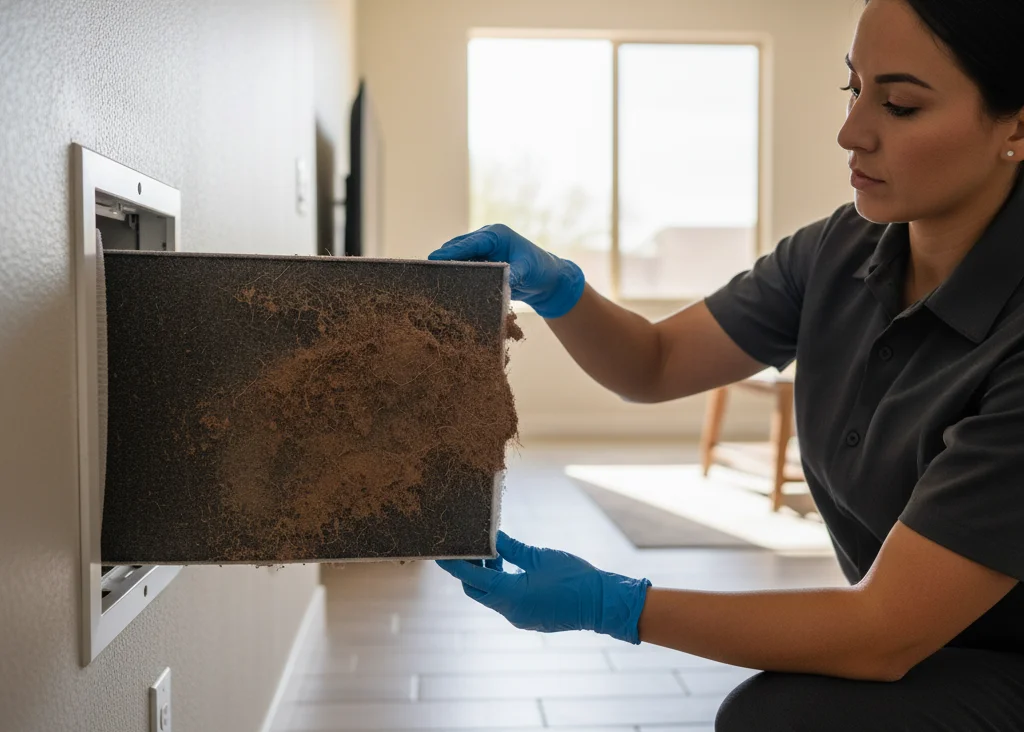
Removing an old air conditioning unit isn’t just about unbolting it from the concrete pad. Outdated systems often contain older, environmentally hazardous refrigerants like R-22.
During the extraction phase, our licensed technicians strictly adhere to Environmental Protection Agency (EPA) Section 608 guidelines. We safely recover, contain, and dispose of the old refrigerants and safely haul away the heavy scrap metal, leaving your property spotless and ready for the upgrade.
Step 3: Upgrading Ductwork and Infrastructure
Whether you are upgrading your primary residence or a vacation property, seamless integration into your existing home infrastructure is critical. This step involves securing the new condenser on a level, vibration-absorbing pad and connecting the high-voltage electrical lines.
When performing ac heating and cooling bullhead upgrades, we also thoroughly evaluate your existing ductwork. A new variable-speed air handler requires properly sealed ducts to deliver massive energy savings. If your ducts are leaking, we will recommend sealing or minor modifications to ensure maximum airflow.
Step 4: System Calibration and Thorough Testing
An AC installation Bullhead City residents can rely on isn’t finished simply because the power is turned back on. The final phase involves rigorous testing and calibration to ensure the equipment operates exactly to manufacturer specifications.
- Refrigerant Charging: We measure the exact volume of modern R-410A or R-454B refrigerant to match the system’s requirements.
- Airflow Measurement: We use digital manometers to verify static pressure and ensure balanced cooling in every room.
- Thermostat Calibration: We sync your new, smart thermostat to the system, teaching you how to program it for optimal savings.
Exceptional ac heating and cooling mohave county services demand this level of granular detail to guarantee long-term reliability.
Ready to Transform Your Home Comfort?
Stop enduring uneven temperatures, stressful breakdowns, and skyrocketing utility bills. Upgrading your HVAC system is a major decision, but it does not have to be an overwhelming one. When you choose a reputable, local team for your AC installation Bullhead City property, you guarantee years of cool, safe, and reliable comfort.
Don’t wait until the peak of summer leaves you sweating in an emergency. Take control of your home’s climate today. Book AC Installation with our experienced technicians, or See Availability in Bullhead City, AZ to find an installation date that works perfectly for your schedule.
Need Help With This Today?
Use the quick actions below to get answers, book the right service, or talk directly with Horizon Air before the issue gets more expensive.
Frequently Asked Questions
Quick answers for the questions homeowners ask right before they call, schedule, or compare their next move.
How long does an AC installation take?
Most standard residential installations are completed within a single day. Our professional team arrives promptly in the morning, removes the old equipment, and typically has your new, high-efficiency system running and cooling your home by late afternoon.
What is the cost to install central air in arizona near mohave valley, az?
The total investment varies based on the size of your home, the SEER2 efficiency rating of the new unit, and whether any ductwork modifications are necessary. While upgrading to central air is a significant investment, modern energy-efficient systems often qualify for federal tax credits and drastically lower your monthly utility bills.
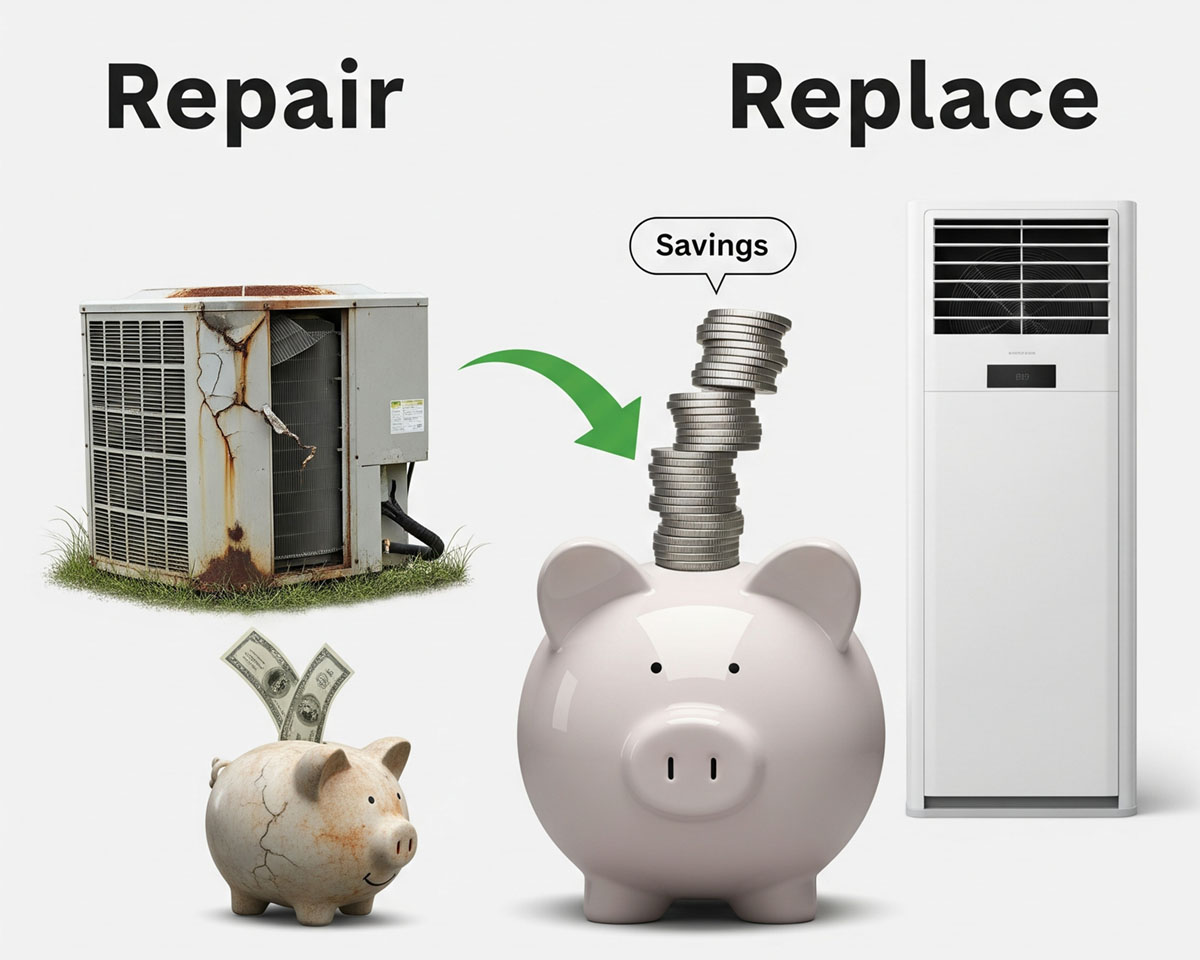
How do I know if I need a full replacement or just a repair?
If your system is over 10 to 12 years old, uses phased-out refrigerants, or requires repairs that cost more than half the price of a new unit, replacement is almost always the most cost-effective path. We help you weigh the long-term ROI of a new AC Installation & Replacement versus the compounding costs of patching an aging system.
Next Helpful Reads
Keep going with practical guides for repair decisions, replacement planning, maintenance, and choosing the right HVAC contractor.
Horizon Air, LLC